How to make your own sauerkraut
Homemade sauerkraut is extremely easy to make. All that is required is cabbage, salt, and a container to store your fermenting sauerkraut in. Sauerkraut is made when naturally occurring bacteria in the cabbage ferments the cabbage through an anaerobic (oxygen-less) reaction. Below is a brief, step-by-step guide to making your first batch!
1. Gather supplies
You’ll need:
- 5lbs of cabbage
- 3 tbsp of canning salt
- A plastic bucket or a ceramic crock (preferred)
- A ceramic or glass plate that fits snugly in the bucket or crock.
- A big glass jar (a growler work well)
2. Slice your cabbage
After you wash your hands, cut your cabbage into thin slices. You may be able to pick up a cabbage shredder at a feed store, antique shop, or garage sale. If you don’t have one, just cut up the cabbage as thinly and consistently as you can. Make sure your work area stays clean through this process; you’ll want the right culture growing in your sauerkraut, so it’s best not to introduce any weird organisms off of your hands or your working surfaces.
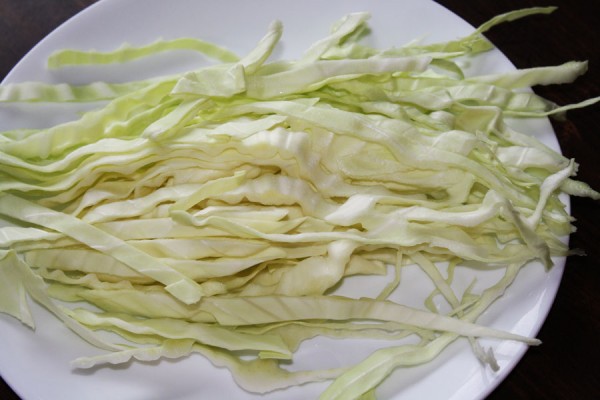
If you don't have a cabbage slicer, just slice it with a knife, keeping the slices thin and consistent.
3. Mix salt with the cabbage.
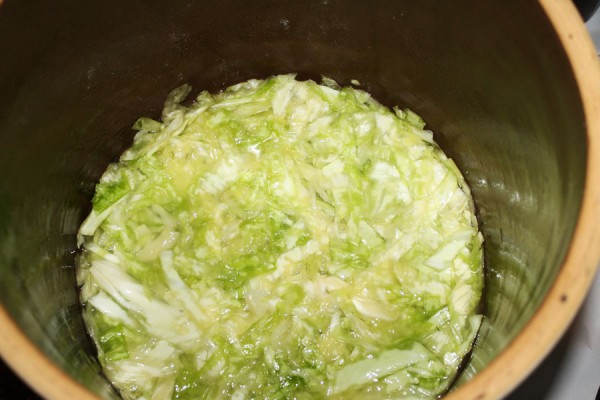
As you slice the cabbage and put it in the crock, mix it well with the salt. Once well-mixed, pack the cabbage into the crock tightly. You’ll eventually see liquid being drawn out of the cabbage. This brine is what the cabbage will ferment in.
4. Add the plate and glass container
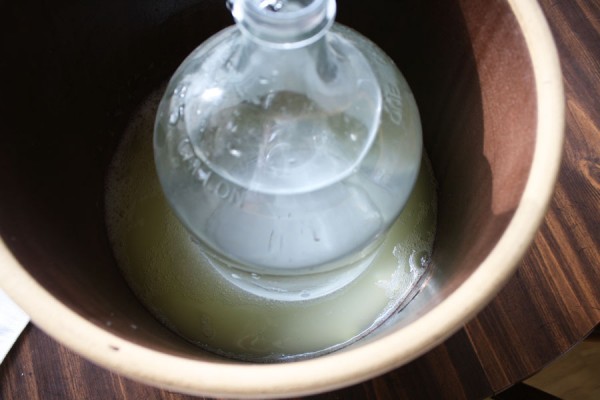
Fill up the glass container with water. Put the plate on top of the cabbage and brine, and put the glass container on top of the plate. This should weigh the plate down and keep all of the cabbage underneath the surface of the brine, under the plate. It’s important that the cabbage not touch the air; it will start to mold.
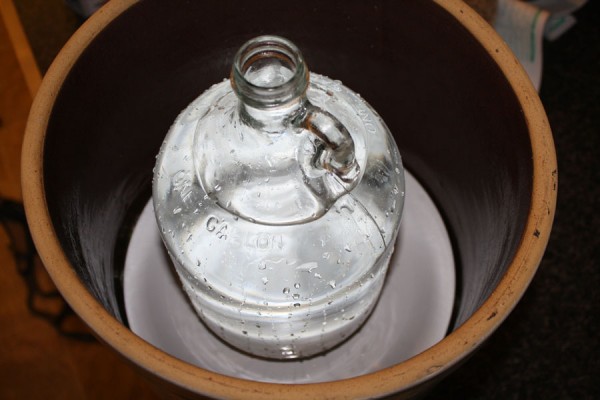
Notice that there is no liquid covering the plate yet. You'll want to make sure you have enough liquid to cover the plate.
5. Cover container with a towel and store in a warm, dark place.
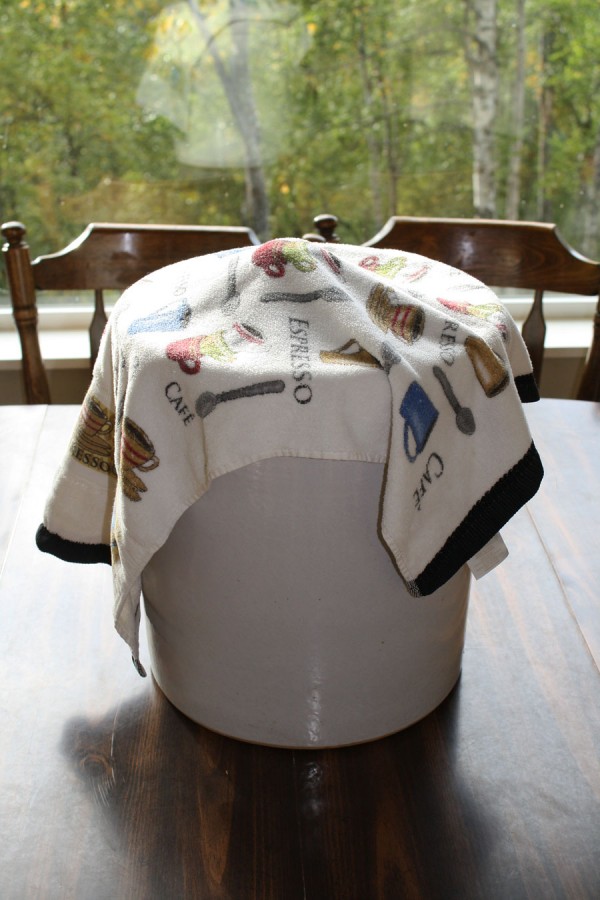
Cover the crock with a towel or some other sort of cloth that keeps dust and foreign particle out of the brine. The fermentation of sauerkraut occurs when natural bacteria in the environment ferments the cabbage in the salty brine. Within a few days, you’ll likely see bubbles on the top of the brine and it will start smelling sour. Your sauerkraut is brewing!
6. Check the kraut every few days
Make sure that the brine does not get too low. If it does, add additional water and salt at a rate of 1 1/2 tbsp of salt for every quart of water. Likewise, if pieces of cabbage float to the surface, take them out with a clean, non-metallic spoon. Mold or foam may form on the surface of the brine. This is normal. Just take a clean spoon and skim it off.
7. Put kraut in fridge or in jars.
After 2-6 weeks, your sauerkraut is ready! It’s done when there are no more bubble coming up from the cabbage. Feel free to sample some in the process, and get ready to store it when it suits your taste. Every batch of sauerkraut will taste slightly different; that’s part of the fun! Once your kraut is ready, you can either put it in the fridge, where it will remain a live culture, or you can process it in jars. Canning the kraut kills the bacteria that is active in the kraut (some people think the bacteria is very beneficial for one’s digestive system), but if you can it, you can store it in the pantry for a year.
For more info on how to make sauerkraut, take a look at this helpful (but long) Youtube video.

Erik,
This is Kyla’s mom. By the way, I absolutely LOVE your blog. Thanks for all your wonderful posts.
Great sauerkraut tutorial! We made our first batch last year, exactly the same way, and it was incredible. I canned most of my mine, but froze some, as well. Both were equally good. But wanting to reserve a lot of our freezer space for chicken, fish, and moose, I can when I’m able to. We haven’t made any sauerkraut yet….still trying to focusing on frost vulnerable harvesting. Tonight, it’s freezing chard, celery, and some green beans. Again, great blog!!
Thanks! Hope you enjoy this time of harvest and of plenty!
[…] they flowered. Yet again I planted far too much cabbage, and it looks as though I’ll be making sauerkraut this […]